How to make a manual potato tiller with your own hands?
It takes a lot of time and energy to grow a quality potato crop. In order for the potato tubers to be strong, you will have to regularly loosen the soil when growing potatoes. This will improve the flow of oxygen and moisture into the soil. To do this, it is better to use a manual potato hiller, which makes loosening the soil several times easier.
Why huddle potatoes?
It is known that during the active growth of potato bushes, it is necessary to loosen the earth. However, not everyone knows exactly what the soil is loosened for and the potato hiller is used.
Loosening of the soil with the help of special equipment is carried out to supply oxygen to the ground and accelerate plant growth. If fresh air regularly gets into the soil, the formation of new root crops doubles. Thanks to this, the amount of the total harvest will increase by 50%.
When to hilling potatoes?
Having familiarized yourself with the purpose of loosening the soil, you need to decide when it is best to do this.
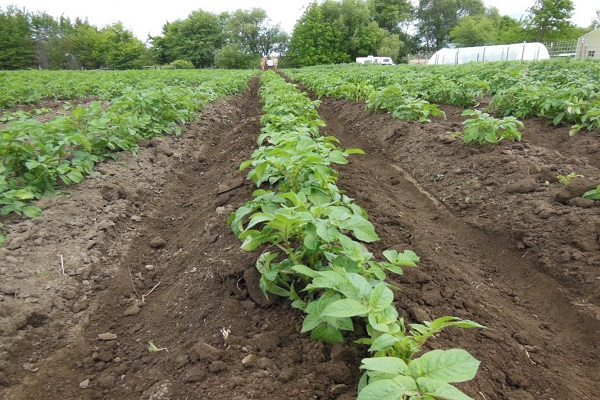
Hilling is recommended to be carried out at the most suitable time. For the first time, the procedure is carried out after the first shoots appear. Moreover, their height should be at least 5–7 cm so that the seedlings can be clearly seen above the ground.
It is necessary to loosen the soil with a potato hiller 2-3 times per season. The procedure is repeated when the bushes grow up to twenty centimeters. At the same time, it is recommended to practice this evening or in cloudy weather, so that there is no sun. Hot sunny days are not suitable for such a procedure, as in large unshaded areas, the hilled parts of the plants above the ground can burn out.
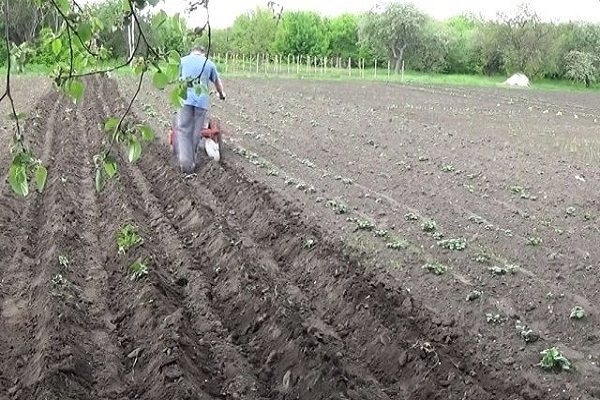
It is also necessary to loosen the soil after rains and lingering showers. After precipitation, the surface of the soil is covered with a crust, which prevents the penetration of oxygen into the soil. If you do not get rid of it in a timely manner, the plants will develop worse.
The design and purpose of the manual hiller
There are two main types of homemade potato ridgers.
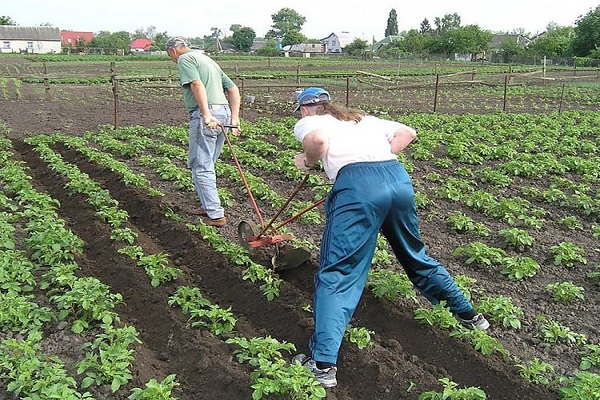
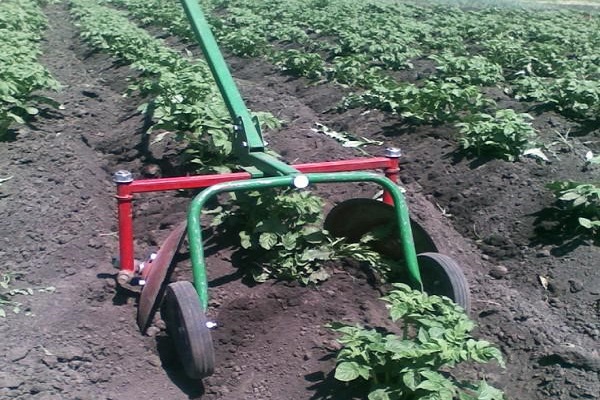
Disk
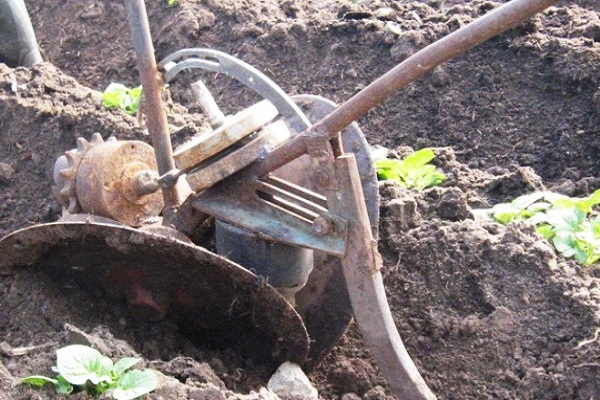
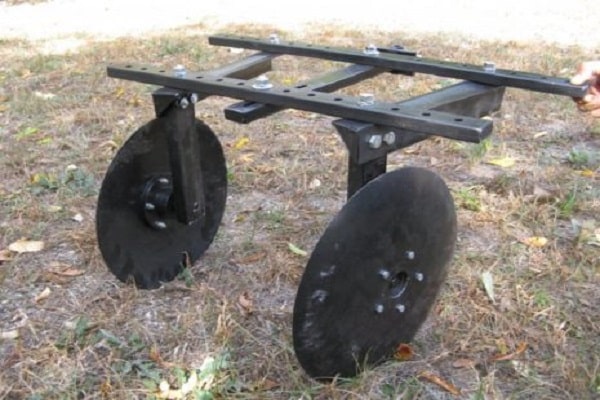
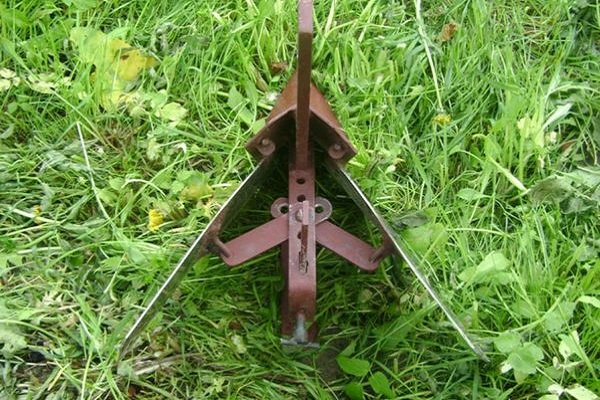
The disc-type design looks like a small frame, on which several metal discs were suspended. Such models are made from the following elements:
- two screw lanyards, which are responsible for adjusting the speed of rotation of the discs;
- T-shaped leash;
- two disc blades;
- two metal racks.
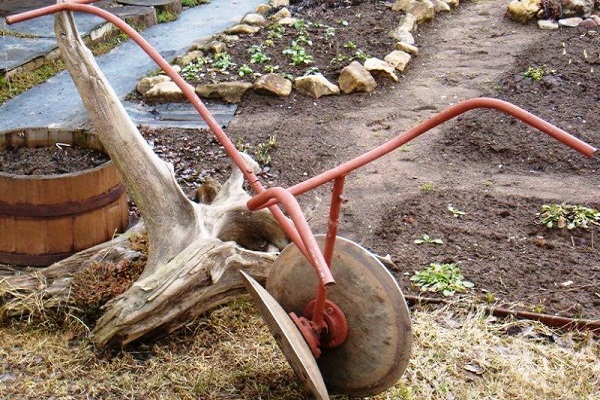
The main advantage of the self-made disc manual hiller for potatoes is the ability to adjust the racks located between the discs. This allows you to set the most suitable row spacing yourself. When adjusting, make sure that the racks are at the same distance from the discs. If the distance is different, one of them will pull the hiller to the side.
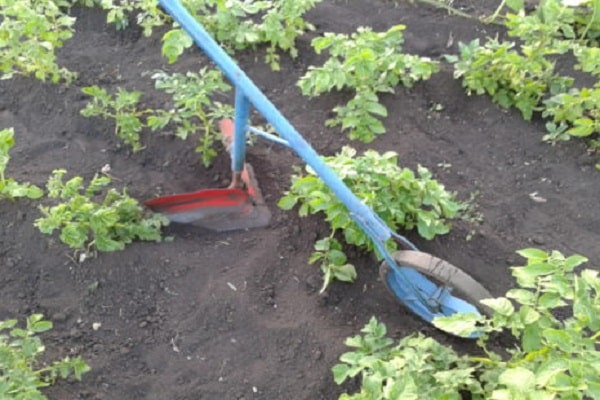
In the form of a plow
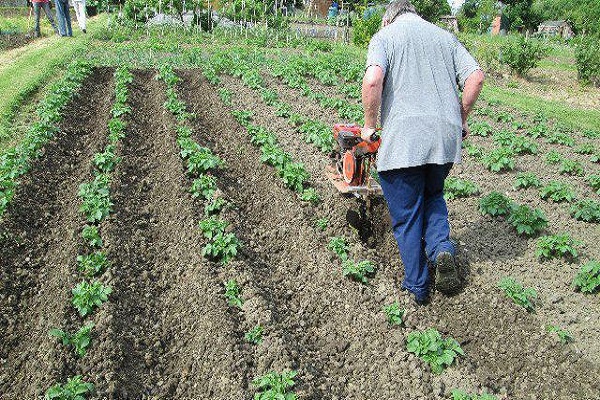
The model, made in the form of a plow, is also often used for cultivating the land for growing potatoes. Such a product is much more convenient than a disc model and allows you to quickly huddle and even plow areas with a large area. For ease of hilling, experienced gardeners recommend using the device together with a walk-behind tractor. This will loosen the garden much faster.
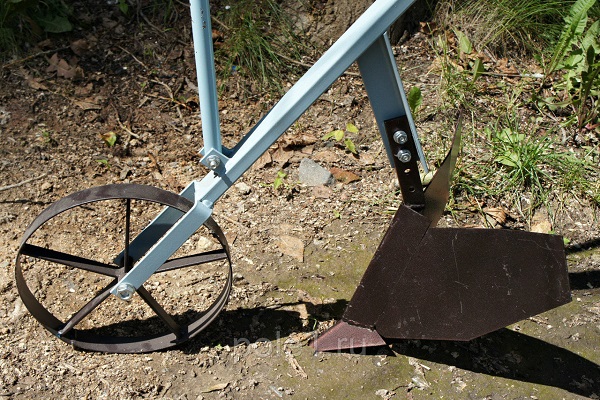
DIY manual potato hiller
Some vegetable growers do not want to spend money to purchase such a device and therefore try to make a manual hiller on their own.
Before starting work, you need to prepare all the materials and necessary tools. To create a structure, you will need the following:
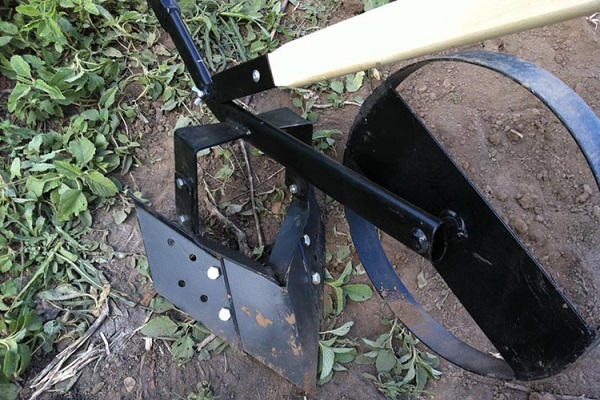
- sheet traction with a thickness of 2-3 mm, with the help of which the dumps will be made;
- one hollow tube at least one meter long for the manufacture of the rear and front rods;
- meter water pipe, which will be needed when creating a vertical rack;
- steel plate or lanyard for connecting the upright to the front link;
- gas burner for heating metal products in the places of their folds;
- grinder for working with joints;
- welding machine.
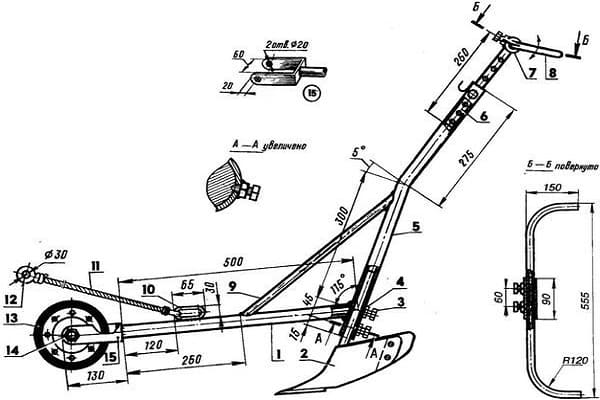
Also, in order to create a hiller on your own, you need a drawing where the correct location of all components will be shown. Of course, you can make a product without the help of a drawing. However, it is more likely that such a hiller will be of poor quality and will quickly break.
Making a vertical stand
It is necessary to make a potato hiller from a vertical stand, which is considered the basis of the entire structure. For this, a pipe about a meter long is being prepared.
To create a high-quality rack, the pipe will have to be bent 10–20 degrees forward at a distance of 300–400 mm from the beginning of the structure. A special device is used to bend metal pipes - a pipe bender. However, not everyone has the opportunity to use it and have to do everything with their own hands. To bend a metal pipe yourself, you will have to:
- pour river sand into the pipe cavity;
- install plugs on the edges of the structure that will hold the sand;
- the place where the pipe should bend should be heated with a soldering machine;
- carefully bend the pipe at the heating point.
Some people try to repeat the above steps, but without using sand. However, without sand between the walls of the vertical pipe, its shape deforms due to heating and therefore it will not be able to maintain its original section.
We make front and rear rods
You will need a передней ”pipe to make the rear and front linkages. It will have to be bent in the same way as the pipe when creating the upright. When the product is bent, several holes are made in it at the top and bottom, where the plug will be installed. The holes created will be needed in the future to change the height of the rack.
When making a front fork, one must take into account the height of a person who will work with a hand-made disc tiller for potatoes made by himself. Therefore, the front link is designed so that its forks are at least 60 cm long. To connect the fork to the upright, holes are drilled for large screws.
Double-mold plow
Making a manual plow for hilling potatoes is quite simple. For this, two metal plates with a thickness of at least 3-4 mm are prepared.They should have small semicircular bends to make it easier to loosen the ground. A self-made plow is attached to a vertical rack. For a more reliable fastening of the structure, a welding machine is used.

Undercut knife
At the very end, a pruning knife is created for the manual potato disc hiller. This part of the structure is made of carbon steel, from which a knife of the required length and diameter is cut. Having cut the product, it will have to be sharpened exactly at an angle of 40-45 degrees to create a sharp blade. When the knife is ready, it is welded to the upper half of the vertical rack and the welding seams are grinded with a grinder.
Hilling technology
Before using a potato hiller, you need to familiarize yourself with the features of loosening the earth.
First you need to break through the weeds in the area where the potatoes are grown. In this case, the plucked grass can be left on the site to protect the potato bushes from the rays of the sun.
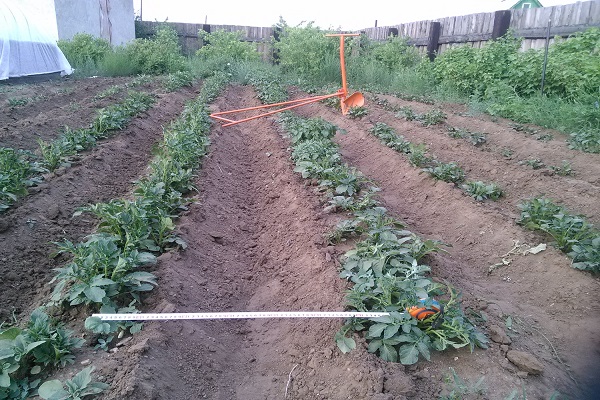
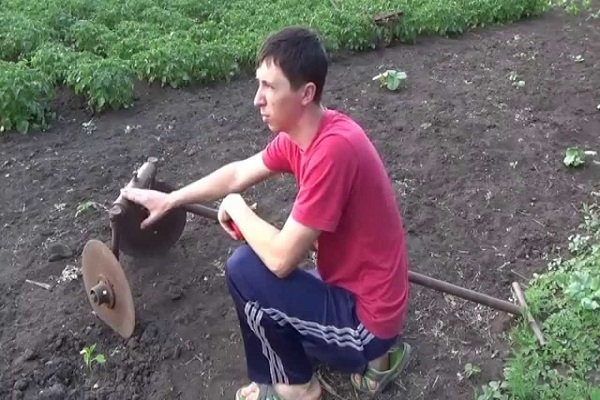
When all the weeds are torn off, you can start loosening the soil with a hand-made potato tiller. This is done in the evening or in cloudy weather. When loosening the soil, the tiller is pulled twice between the rows of potatoes. If, after using a manual device, a crust remains under the bushes in some areas, then you will have to get rid of it manually with an ordinary hoe.
Conclusion
When growing potatoes, you need to carefully look after the potato bushes. To get a good harvest, it is recommended to regularly loosen the soil. To do this, use a manual tiller, which will quickly get rid of the formed crust on the ground.
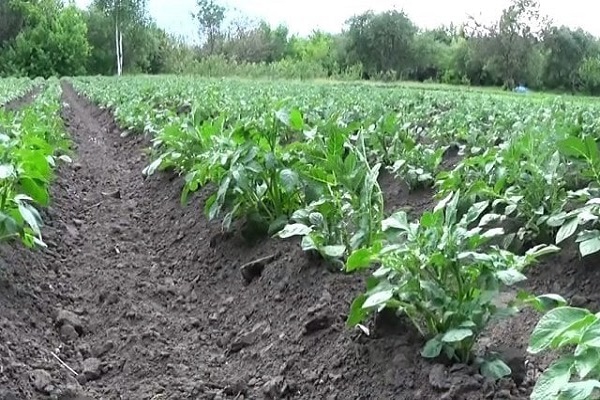


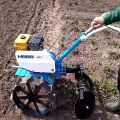



Once I already tried to make a hiller on my own, fell apart after a couple of uses. This design seems to be more stable. I'll have to try to do it.