Description of the Roma f1 eggplant variety, its characteristics and yield
Eggplants are successfully grown by gardeners not only in the greenhouse, but also in the open field. The early ripe hybrid quickly gained popularity among gardeners due to its high commercial properties, rich harvest and universal application. Eggplant of the Roma f1 variety has excellent taste and perfect appearance. If the conditions are met, the fruits retain their presentation for three months.
Description and characteristics of the variety
Specifications:
- suitable for growing in all regions of the country;
- from one bush, with proper care, one and a half kilograms of fruit are harvested. From a square meter - about 6 kilograms;
- grows well outdoors;
- the height of the bush reaches two meters.
Description of the Roma f1 variety:
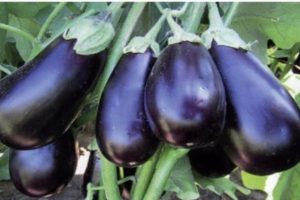
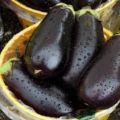
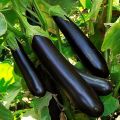
- the skin of the fruit is soft to the touch and very thin. Upon reaching maturity, the eggplant becomes shiny and deep purple;
- fruits grow up to 350 grams in weight, and 20-25 centimeters long;
- the pulp is dense;
- fruits contain a small amount of seeds;
- taste without bitterness. Great for canning, pickling, salting, frying and stewing;
- after transplanting into the ground, the fruits ripen after 70-80 days;
- the bushes have long fruiting. The crop is harvested before the first frost.
Pros and cons of eggplant
The advantages of the variety include:
- good fruit growth in cool summer;
- unpretentious cultivation;
- high taste;
- great productivity;
- tender pulp without bitterness and streaks;
- the resistance of the variety to diseases.
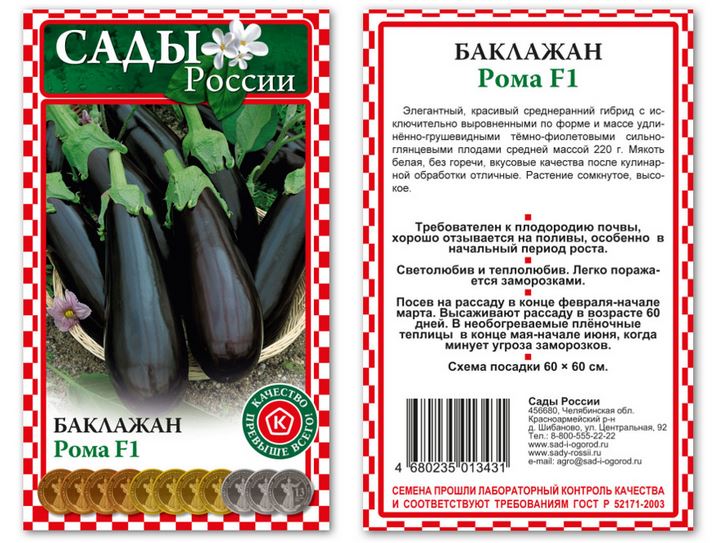
Many summer residents are accustomed to independently harvesting seeds from their favorite varieties of vegetables. Roma f1 belongs to hybrids and is not suitable for propagation with its own seeds. This is the only drawback that gardeners distinguish from fruits.
Growing seedlings
The most convenient way is to grow by seedlings. Seeds are planted in the last decade of February or early March.
Sowing seeds
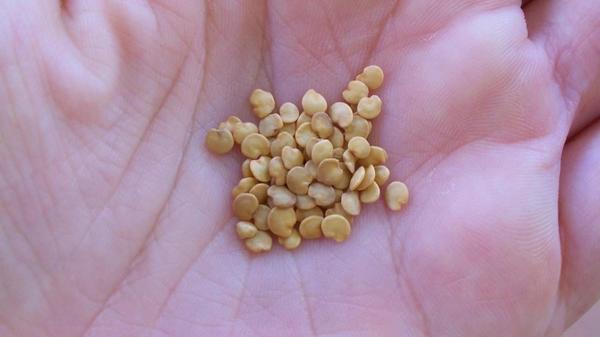
Seeds do not require pre-soaking. For the quick emergence of shoots, follow these simple guidelines:
- For sowing, soil and humus with a small amount of coarse sand are used in equal proportions.
- Before planting, warm up the soil to +25 degrees.
- Seeds are planted in separate cups or common boxes at a distance from each other. Deepen each seed into the soil one and a half centimeters. Then watered and covered with foil. Before emergence, the temperature should be within +25 degrees. The containers are placed in a dimly lit place.
Sprout care
In order for the root system to develop, and the shoots to be strong at the time of transplantation, observe the growing conditions:
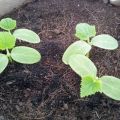
- The film is removed after the first shoots appear. Seedlings are exposed in a lighted place, and the temperature is reduced to +18 degrees. This ensures the growth of the root system.
- After a week, the temperature is increased. In the daytime, they stand + 25 degrees, at night - no more than +14. The contrast in temperature will help harden the plant and make the seedlings strong.
- When the cotyledons have formed, the plant can be dived. This process will have to be treated very responsibly. Delicate sprouts are easily damaged. It is necessary to transfer it by the top leaves and be sure to leave a lump of earth.
- Young shoots love regular watering. The variety painfully tolerates drying and waterlogging of the soil. Use only settled water. After each watering, the soil is loosened. This helps to reduce moisture evaporation.
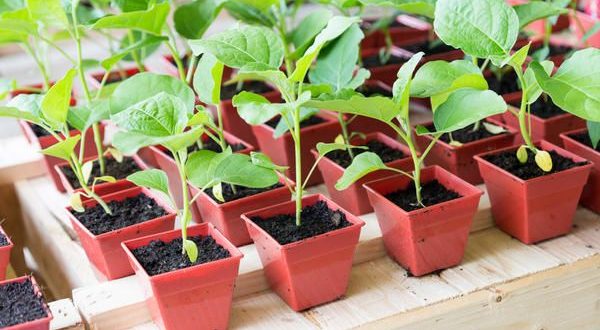
Plants don't like diving. It is recommended to plant the seeds in separate pots.
Growing features
For plants to be strong and healthy, it is necessary to provide them with long-term lighting. If the daylight hours are short, additional lamps are connected. The lack of light leads to the growth of seedlings, reduces their immunity, and after transplanting it is more difficult for her to adapt to new conditions.
Preparing seedlings for transplanting
Important rules:
- 2 weeks before the transplant, they begin to harden the seedlings. Seedlings are exposed to the balcony, gradually increasing the residence time.
- The day before planting, the seedlings are watered abundantly. If the seedlings grow in boxes, then watering is done again, immediately before transplanting.
- The ideal time to land in the ground is late May or early June.

Transplanting to the beds
Important rules for transplanting seedlings:
- Deepen the bushes into the soil by 8 centimeters.
- They hide the root collar in the soil by one and a half centimeters.
- Transplanted with a clod of earth.
- If the seedlings were grown in peat pots, then they are simply placed in prepared holes, which have been filled with water in advance.
- The optimal planting scheme for the variety is 40x50 centimeters.
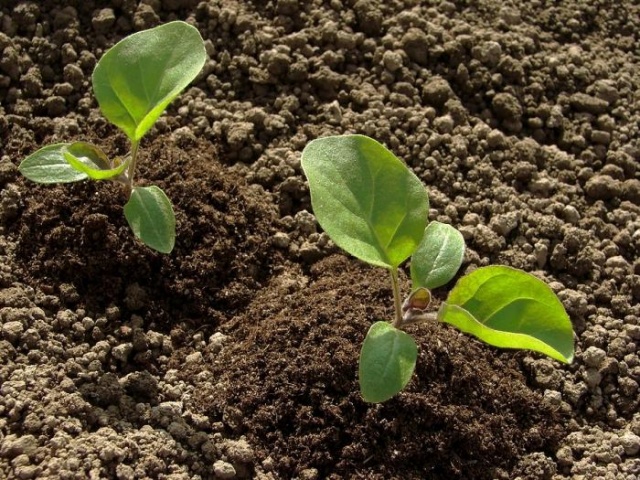
How to care for an eggplant
The transplanted plants must be protected from the cold at night. For this, a film coating is installed on the arcs. The shelter is removed after a constant temperature has been established - around mid-June. If they promise night cold snaps, they stretch the film again.
Watering
It will take some time for the bushes to adapt to the new conditions.
- Development will be slow in the first weeks. Plants will give all their strength to the development of the root system.
- Watering is stopped, replacing it by spraying with an aqueous solution of urea.
- Be sure to provide air flow to the roots by systematic loosening of the soil near the bushes.
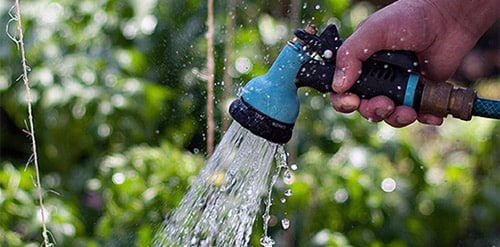
When the bush has taken root and started to grow, you can proceed to regular watering. In dry, hot summers, moisten the soil twice a week. In cool weather, watering the soil once a week is enough. The soil moisture level must be sufficient, but not excessive.
With excessive waterlogging, there is a high probability of the appearance of a "black leg". Watering is carried out in the evening.
Fertilizers
Regardless of the soil, the bushes need regular feeding. Fertilize plants three times:
- 14 days after transplant.
- During the flowering period.
- During the ripening of the fruit.
For the first fertilization, cow manure or chicken manure, which is diluted in water, is ideal.
The second should contain:
- potassium;
- manganese;
- iron;
- phosphorus.
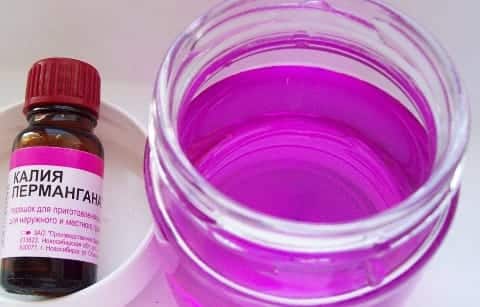
The third is carried out 40 days before harvest. Fertilize with phosphorus and potassium.
Bush formation
Good fruiting does not require complex maintenance. Enough:
- pinch the tops of the bushes for better development;
- after 8 fruits have formed, remove the side shoots;
- during flowering bushes, pick off small flowers;
- shake the plant occasionally for better pollination;
- tear off the yellowing leaves.
Diseases and pests
The bushes are resistant to the main diseases:
- gray rot;
- phytosporosis.
The main enemy of the bushes is the Colorado potato beetle. Pests are able to eat all the foliage per day. You will have to fight insects from the first day after transplanting the bushes into the ground.
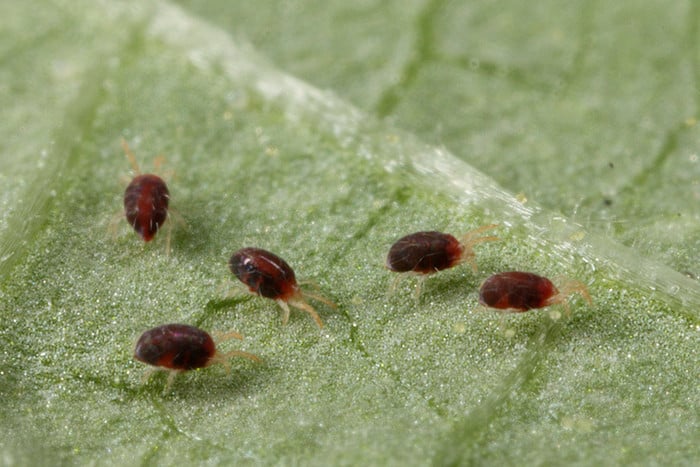
To scare off beetles use:
- short-acting insecticides that kill the larvae. The last processing can be carried out one month before harvest;
- folk remedies.
Harvesting and storage
Harvested after technical maturity. Their color should take on a rich purple hue. Harvesting is carried out twice a week. Strong, undamaged fruits are chosen for storage. Wipe with a cloth and wrap in a paper bag. Store in a dry basement for 2-3 months.
