How to properly sterilize lids and jars for winter jam in the microwave
Summer is a time not only for rest, but also for canning. Since nutrition in the cold seasons depends on this process, each hostess tries to prepare as much of all sorts of goodies as possible: jams, stewed fruits, harvesting vegetables. To preserve them, you need to properly prepare the container. Today you will learn how to sterilize jam jars in the microwave, as well as many other interesting ways to handle dishes.
Content
- 1 Do I need to sterilize cans for preservation and jam
- 2 Preparing cans and lids
- 3 Sterilization methods
- 4 How to sterilize cans of blanks
- 5 Types of lids used
- 6 How to sterilize
- 7 How to pour jam into sterilized jars?
- 8 How to properly roll up cans with iron lids for the winter?
- 9 Features of rolling cans under screw caps
- 10 How to store jam without rolling up the jars?
Do I need to sterilize cans for preservation and jam
Sterilization helps remove all kinds of germs and bacteria. If the procedure is ignored or incorrectly carried out, the conservation may deteriorate. Does this apply to jam? If the preparation is made according to the classic recipe, which involves the use of sugar and berries in equal amounts and boiling them for 15-30 minutes, then sterilization of the cans is optional. The only condition is to use clean and dried containers. It is better to wash them with soap or soda solution, then rinse with clean water and dry well in the sun.
This preparation is not suitable for jars that will store five-minute jam. This is due to the fact that very little sugar is added to such a workpiece, and it turns out to be quite liquid. Therefore, if there are bacteria in the container, they will multiply very quickly and spoil the workpiece. To avoid this, it is imperative to sterilize the banks. The only exception is jam, which is bottled hot.
Preparing cans and lids
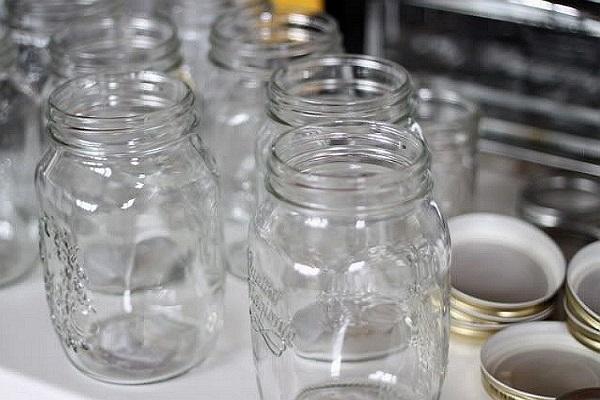
There should be no defects on the container for storing blanks. Having selected suitable jars, they must be washed.
There are also certain requirements for the lids. They should have good rubber gaskets. It is important to check the integrity of the covers and the absence of any defects.
For rolling, it is better to take tin lids with a varnished surface (it does not allow pickles and metal to come into contact, protects against oxidation and damage to the workpieces).
When using threaded caps, it is important to assess the integrity of the paint on them. Otherwise, they will corrode and all preservation will disappear.
Sterilization methods
Many different methods have been invented to sterilize cans. For your convenience, we have decided to briefly describe each.
Steam over a pot of water
Convenient, simple and effective way to sterilize blank containers. The only condition is to use a lid with holes, but if necessary, it can be replaced with a sieve or colander.
Pour 2/3 water into a saucepan, cover with a lid or place a strainer. Place containers upside down. Hold cans up to 2 liters over boiling water for 10 minutes, for 2-3 liters - 15 minutes. At the end of sterilization, water will begin to drain from the walls of the cans. Remove them gently and upside down on a towel.

In the oven
There are several options here too.
In electric
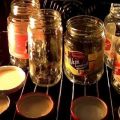
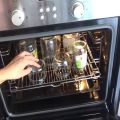
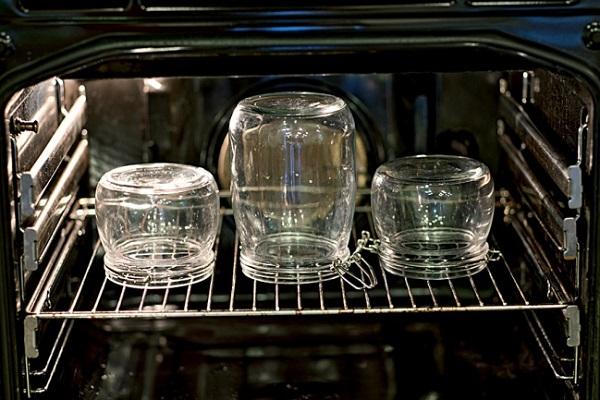
Place containers and lids in a cold oven, base up. It is better to choose this particular position, otherwise a white coating may remain on the bottom of the container, especially if it has just been washed. Place the metal covers nearby, not very close to each other. Then activate the "convection" blowing from the bottom and from the top. Adjust the temperature to 150 degrees, close the oven. The duration of the procedure is determined by the volume of the container to be sterilized: for cans of 2 and 3 liters, 20 minutes is enough, for 1-liter cans - 15 minutes, for 0.5-liter and less - 10 minutes.
When done, remove the cans and place them on a clean, dry surface. Hot preservation can be placed immediately, cold preservation when the container cools down to room temperature.
In the oven gas stove
This procedure is slightly different from the previous one.
The position of the jars is the same. The oven must be warmed up: it must work at 50 degrees for 5 minutes, then the temperature must be increased to 180. The duration of sterilization is the same as in an electric oven. When you're done, open the door to let the jars cool slightly. You need to pull them out in mittens.
In the microwave
If you need to quickly disinfect the jars, then the microwave will become an indispensable assistant in this regard. The only negative: it can fit several small jars or one three-liter one.
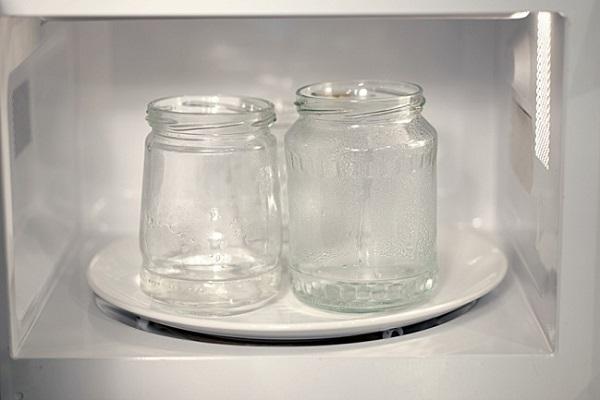
Before sterilization, the jars must be well rinsed with soda and poured into each water a few centimeters. If using a 3 liter jar, pour 200 ml of water into it. Place the jars in the microwave at a short distance from each other. Place dishes for 2 and 3 liters on one side.
Having set the power to 700-800 W, sterilize the jars:
- up to 2 l - 3 minutes;
- 2-3 liters - 6 minutes.
When the water in the jars boils, wait 3 minutes and only then pull them out with oven mitts. Try to immediately fill the container with a hot piece.

In boiling water
The method has already become a classic, so there is no doubt about its reliability.
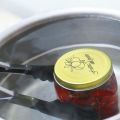
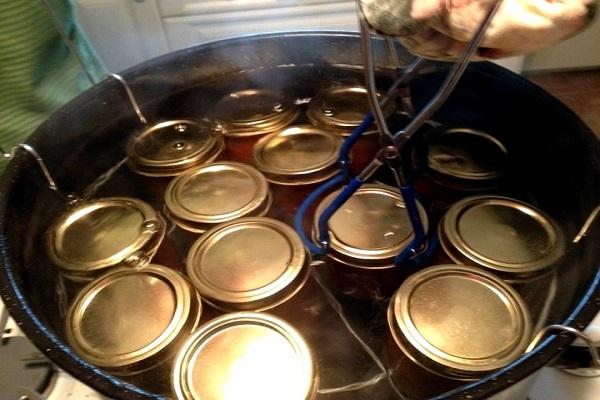
Prepare a large container to process as many jars as possible at a time. Place a towel at the bottom. Calculate the required volume of water yourself, the main thing is that it completely covers the jars. Place clean containers with their necks up, at a short distance from each other. When the water boils a little, wait 15 minutes and pull out the jars. For this, you can use a special tool or gloves.
You can also boil lids with glass containers.
After the procedure, it is better to lay the jars sterilized in any way on a clean towel, previously ironed on both sides with a well-heated iron.
Over the teapot
If you have enough time, you can use a kettle to prepare the cans for preservation. It is rational to use it if you have a small amount of conservation. The kettle is suitable for handling containers of various displacement. You can handle it with a spout or place the jar on the neck of the kettle.
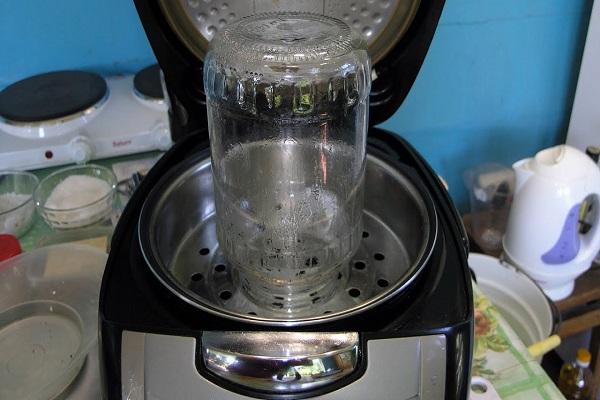
In a double boiler
With the help of this device, you can not only prepare healthy food, but also sterilize jars. The instruction is very simple:
- Pour water into the reservoir.
- Place the jars with their necks on the wire rack, cover with a lid.
- Turn on the device for 15 minutes.
Many hostesses note that this processing method is one of the safest and most convenient.
In a multicooker
It is difficult to overestimate the usefulness of the multicooker. But few people guessed that she also knows how to sterilize containers. To prepare containers for workpieces, it can be used in the same way as a double boiler.
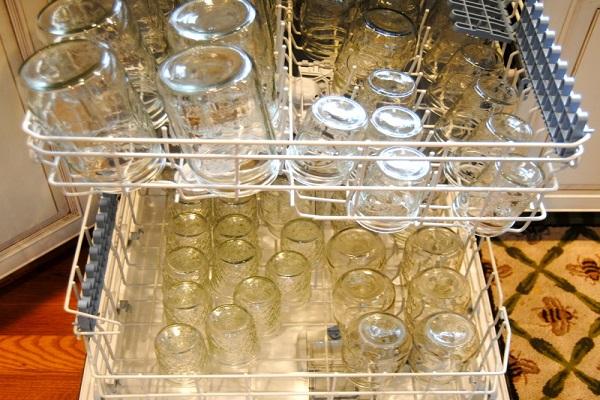
Dishwasher safe
This method is recommended only as a last resort, since most appliances heat water to a maximum of 70 degrees.
It is best to disinfect the containers in which you will roll the jam in the dishwasher.
In the airfryer
In this modern device, you can not only prepare delicious food, but also sterilize dishes. For this you need:
- Fill the bowl of the airfryer with jars, but leave a little space between them.
- Set the temperature within + 120-180 degrees.
- It is enough to sterilize cans up to 0.75 l for 10 minutes. Larger containers need to be kept for 15 minutes.
If you are in a hurry, you can process the container in the airfryer for 10 minutes at +200 degrees. In this case, in addition to each container, you need to pour a little water.
The sterilization effect lasts for 48 hours. The main thing is not to touch the containers with dirty hands, especially by the neck.

How to sterilize cans of blanks
According to some recipes, the packaging must be processed after it has been filled with blanks. This can be done in two ways.
In a saucepan
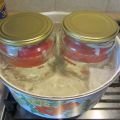
Cover the bottom of the container with a towel, put the jars on it and pour water so that it does not reach a few centimeters to the necks of the containers. Cover each jar with a lid on top and turn on the heat.
Soak containers in boiling water:
- three-liter - half an hour;
- two-liter - 20 minutes;
- any up to two liters - 10 minutes.
During the procedure, the temperature of the workpieces should vary between + 80-90 degrees.
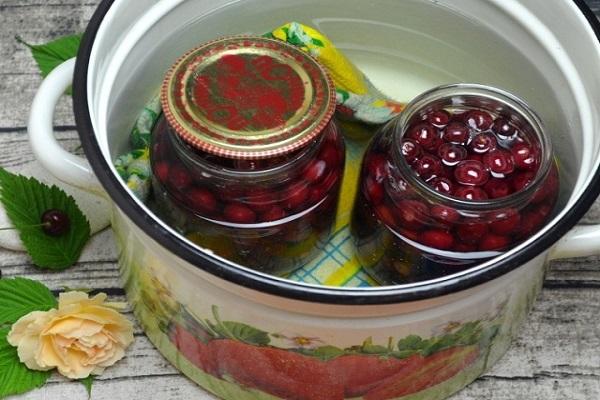
In the oven
Suitable for those cases when there is no large saucepan. Sterilization is very simple:
- Fill containers with blanks and cover with lids.
- Preheat the oven for five minutes to +50 degrees, then put the blanks there, close the door and increase the temperature to +150 degrees.
- The duration of the procedure is the same as in the above method.
- After the required time has passed, close the containers tightly with lids.
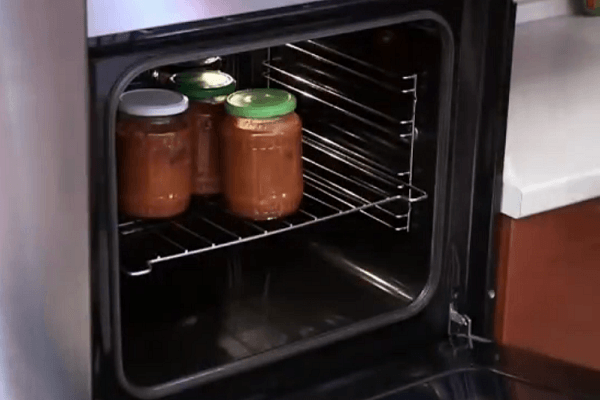
Types of lids used
Today there are several types of lids that can be used in the conservation process. Let's briefly consider the features of each of them.
Tin
Standard lids with an elastic band inside, which is used to improve sealing during the canning process. They are yellow and gray. If you twist a jar with sulfur, then rust often appears on its neck. This is due to the fact that such covers are not covered with a protective varnish layer. Therefore, we advise you to choose yellow lids.
Twist-off
Reusable caps can only be used on cans with a suitable thread. Twisted by hands.
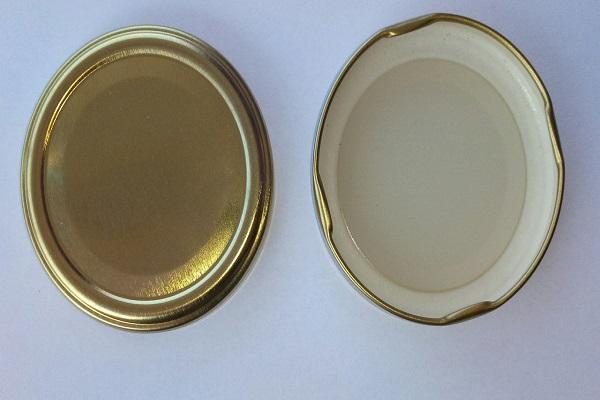
Vacuum
Manufacturers claim that these lids can withstand 200 seams. They come with a special valve and pump. Very easy to use, but expensive and not sold everywhere.
Thermal covers
Very comfortable. To close the jar, just hold the lid in boiling water for 10-15 seconds and simply put it on the neck. Designed for single use.
Nylon
They are practically not made, but some housewives consider them the most reliable. They are easy to put on the jar, do not let air into the workpieces. Suitable for multiple use.

Glass
Good lids, time-tested. Suitable for multiple use. In the process of closing the cans, a special clamp must be used.
How to sterilize
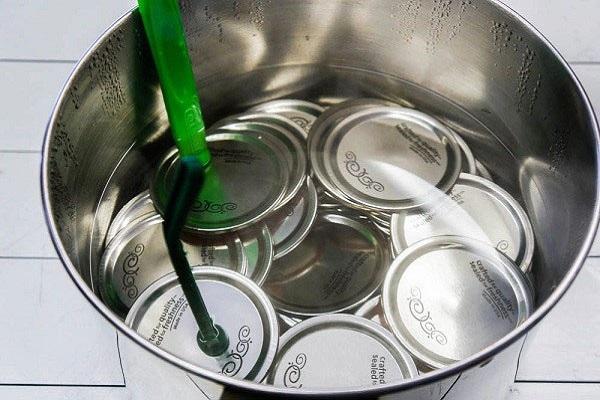
There is a universal sterilization method that will suit all types of caps. For this:
- Fill a deep bowl halfway with water.
- Fold all the lids into it.
- Put in the microwave, double boiler, slow cooker and boil.
The same can be done on a gas stove.
How to pour jam into sterilized jars?
On this issue, the hostesses divided into two fronts: some are convinced that the jam should be poured only hot, others that it should be extremely cold.
In fact, both of these methods are correct, but only on condition that the workpiece is prepared according to the classic recipe.
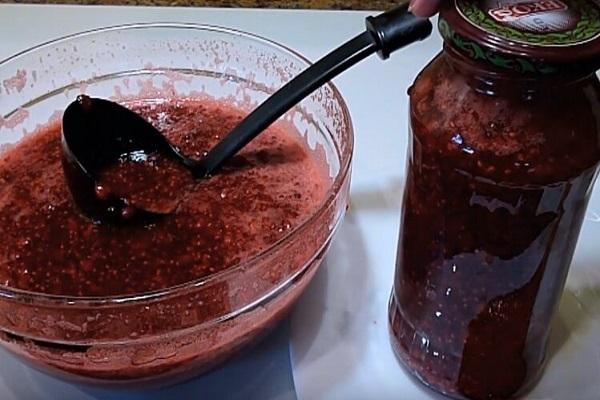
If you decide to cook jam according to the "5 minutes" scheme, then you need to pour it into a container only hot. This is due to the small amount of sugar and short cooking over the fire. By pouring the five-minute jam hot, you additionally sterilize the jars.
How to properly roll up cans with iron lids for the winter?
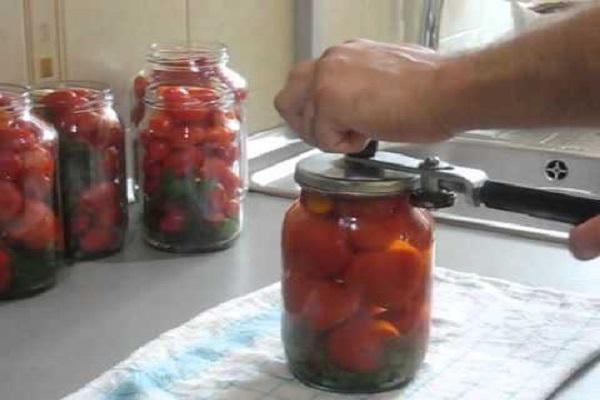
For this you will need a seaming machine. The procedure itself is very simple:
- Place the lid over the neck of the can.
- Put the clipper on top and press down slightly.
- Turn the knob clockwise, gradually scrolling it a little further so that the lid fits snugly against the neck.
- When you realize that there is nowhere else to move the handle, spin it in the opposite direction and remove.
You need to close it slowly and gently, you cannot press hard on the lid with a machine, otherwise the jar may burst.
To check the tightness of the seaming, place the containers with the blanks on their side or place them upside down on a blanket. Cover with a blanket and leave for 10-12 hours to cool gradually. If after this time there are no traces left on the bedspread, you can hide the blanks in the pantry or cellar.

Features of rolling cans under screw caps
Before you roll up cans with blanks with screw caps, you need to do the following:
- Sterilize them together with containers at a temperature of no more than 60 degrees, or put them in boiling water for a couple of minutes.
- Fill the finished container with the contents, cover with a lid. Check that the grooves in the rim match the curl lines on the neck of the can. Close the jar with a sterilized lid.
During operation, it is not necessary to press hard on the cover, otherwise this can cause overtightening of the thread and break the tightness of the seaming. Also check that the cover is free of various defects in the form of corrosion, damage to the integrity and chipping.
How to store jam without rolling up the jars?
Since preservation lids were not always available, our grandmothers covered the jars of jam with plain paper, and it could stand that way for a very long time. What's the secret? It turns out that this requires:
- Add a lot of sugar when making jam.
- It's good to boil it down.
- Then put it in clean, sterilized, completely dry jars.
- Sprinkle with sugar on top, do not stir.
- Close with a clean plastic lid.
If this simple technology is followed, the jam can be stored for at least a year.


