Description of varieties of bulbous irises, planting and care in the open field
Planting and caring for bulbous irises is carried out according to special rules. In order for the selected variety of your favorite flowers to please with its lush flowering, you need to know about the timing of planting, the secrets of preparing the bulbs and soil. The care is standard and involves the establishment of an irrigation regime, feeding, pruning and some other activities. There are three groups of bulbous irises, each of which has different characteristics.
Content
- 1 Description and varieties of bulbous irises
- 2 How to plant bulbous irises: important recommendations
- 3 Planting bulbous irises in spring and autumn: step by step instructions
- 4 Features of growing bulbous irises
- 5 Flowering time of irises
- 6 How to propagate bulbous irises
- 7 Diseases and pests of bulbous irises
Description and varieties of bulbous irises
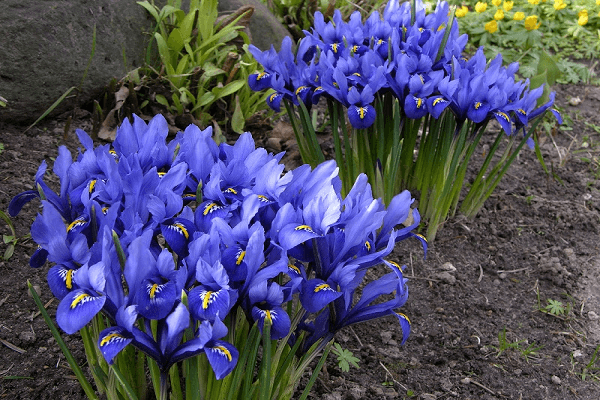
There are many varieties and varieties of bulbous irises that are often found in summer cottages. Attention is drawn to the varied, sometimes even unusual color of the inflorescences.
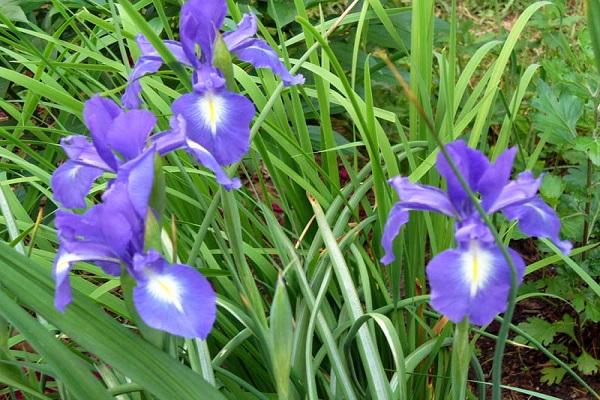
All bulbous irises are similar in flower structure. They have three outer petals that are bent to the sides and three inner petals that extend upward.
Instead of a rhizome, an elongated bulb. There are several layers of leaf buds around the bulb. They accumulate moisture and nutrients necessary for the development of the plant.
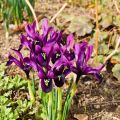
Iridodictium, or reticulated iris, iris reticulum
The name iridodictium is translated from Greek as rainbow and mesh. The inflorescences of this type of irises are variegated. The upper shell of the bulbs resembles a net, which is why the flowers are also called netted.
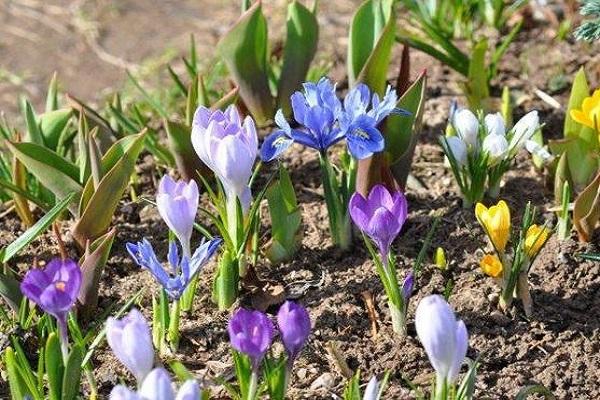
The iris variety is more resistant to adverse conditions. They can be grown in regions with cold winters without digging up to 5 years in one place. Shelter organization is required before winter.
The size of the iridodictium is small. The diameter of the inflorescences is about 6 cm, the height of the stem does not exceed 16 cm. The leaves are dense, narrow, appear simultaneously with the buds. Iridodictium inflorescences emit a pleasant aroma. Flowers bloom 2.5 weeks after the snow melts. Flowering continues for 15 days.
Popular varieties of iridodictium include: Dunford, Alida, Harmony, Claret, Joyce.
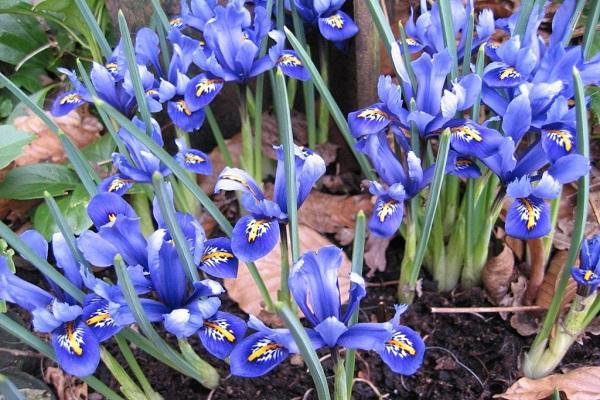
Juno, or iris pearl
This type of bulbous irises is named after the famous goddess Juno. They safely tolerate unfavorable weather conditions, therefore, up to 6 years can grow on one selected area without digging.
Irises begin to bloom in mid-spring. The height of the stem reaches 45 cm. The leaves on the stem grow in steps. Inflorescences are formed at the top of the peduncle and also emerge from the axils of the lateral leaves. The petals can be of different colors. Flowering lasts up to three weeks.
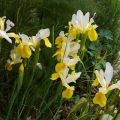
Xyphyum, or Dutch iris
This group of irises was named because of the unusual shape of the leaves. They are narrow and oblong, reminiscent of a sword (xyphium from Greek means sword).
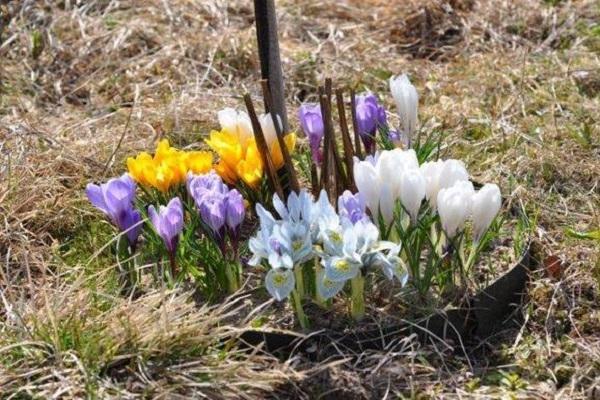
Flowers of this group were bred for growing in regions with a warm climate. Therefore, the bulb is not dug up for the winter, sometimes it is only covered with spruce branches and the soil is mulched. When planting bulbous irises in areas with cold winters, it is imperative to carry out preparatory work before the onset of frost.
Irises bloom in summer. The flowers of this type of irises are large, reaching 11 cm in diameter. The height of the stem extends up to 75 cm. The petals can have a variety of colors: from light purple to yellow. There are specimens with a combination of several flowers on the inflorescence.
In the store you can buy an unusual variety of Dutch Iris Mix. The planting scheme and further care are standard. The difference lies in the fact that the shade of the petals will be known only after the blossoming of the inflorescences.
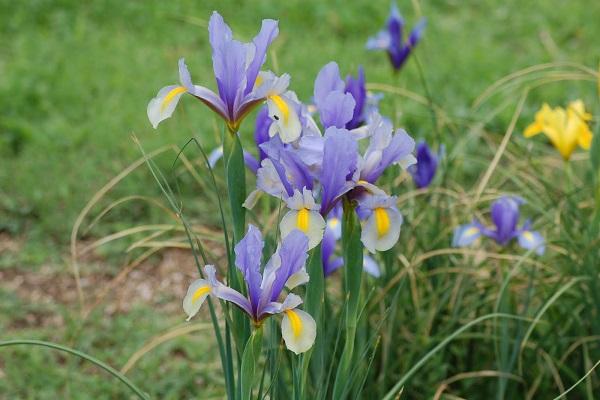
Professor Blaau
Professor Blaau is a hybrid form obtained by crossing different varieties of xyphyum. The plant has a long flowering period, large petals. The diameter of the inflorescence reaches 11 cm.
Mystic Beauty
The xyphyum group includes the Mystic Beauty variety. Flowering begins in early June. The height of the peduncle reaches 55 cm, on which two inflorescences with wide petals are formed. The diameter of the inflorescence is about 6 cm. The attractive color and pleasant aroma will not leave indifferent any summer resident.
Symphony
A well-known type of xyphyum is the Dutch Iris Symphony. Flowering begins in April and lasts for three weeks. The height of the peduncles reaches 50 cm. The petals of the inflorescences are wide. Immediately after the end of the flowering period, the leaves begin to wilt and dry out.
How to plant bulbous irises: important recommendations
Bulbous irises are most often planted in open ground in late August or early autumn. But landing in the spring is not excluded. In this case, the planting material is preliminarily placed for some time in a cold place.
When planting flowers, you should follow some important rules:
- make a small hill in a suitable area;
- the flower bed should be well lit and in the shade for some time during the day;
- the land on the site is dug up, loosened and organic components are introduced;
- if the soil is characterized by high acidity, then it is preliminarily recommended to carry out liming.
Irises can develop safely in one place for 6 years. But the flowers grow every year, and the soil's supply of micronutrients is rapidly depleting. Therefore, it is better to transplant the plant to a new site more often.
Planting bulbous irises in spring and autumn: step by step instructions
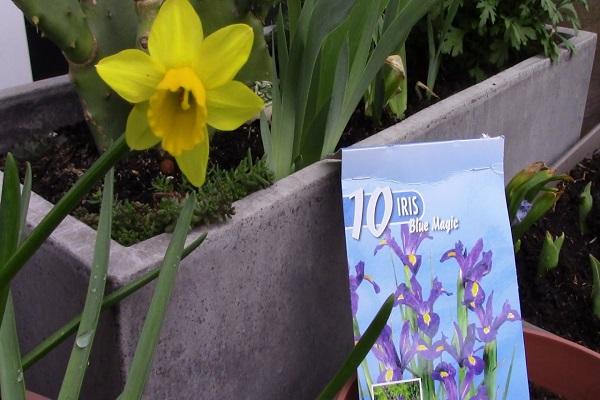
So that planting flowers does not cause problems, you need to perform a number of sequential activities:
- grooves are made on the dug up land plot (11 cm deep);
- river sand is poured onto the bottom of the holes made;
- the depth of the onion is approximately 5 cm;
- the gap between the bulbs is about 9 cm, but you can plant it closer;
- the bulbs are laid out in the holes and slightly pressed into the ground;
- covered with a layer of fertile soil;
- watered with a little water.
After planting, it is advisable to mulch with peat or compost.
Preparing the bulbs for planting
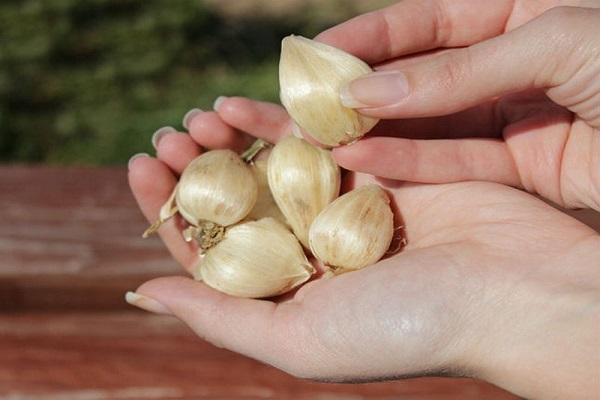
Plant bulbs must be disinfected before planting.To this end, the bulbs are immersed for 23 minutes in a composition based on potassium permanganate or drugs such as Fundazol, Benlat. Then the bulbs must be dried thoroughly.
How to prepare the soil
The area where the flowers are supposed to be planted should receive sunlight without obstacles. The place must be protected from drafts. If groundwater passes close, then a hill is made.
For growing bulbous flowers, choose a fertile, light soil with a neutral level of acidity, good water and air permeability. Previously, the land plot is dug up and organic components are introduced (except for fresh manure).
Planting irises
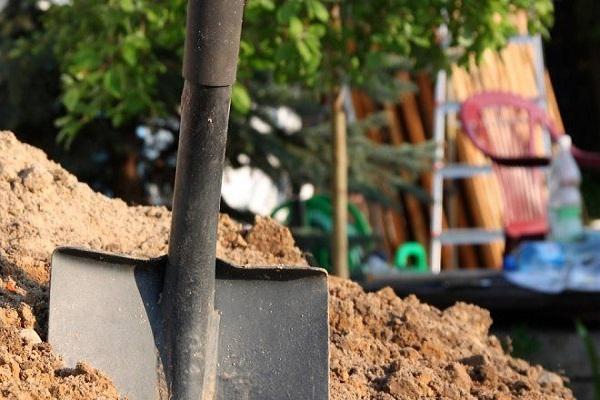
Processed bulbs should be planted in a pre-prepared area:
- At a distance of 11 cm, pits are made with a depth of 14 cm.
- A layer of river sand is covered.
- The onion is deepened by 23 mm.
- There is a layer of sand again.
- At the last stage, the hole is closed with ordinary earth.
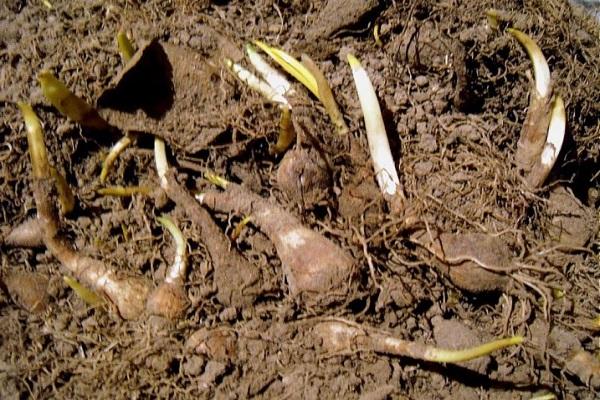
If the bulbs have sprouted, then it is better to make not holes, but a trench 18 cm deep. This will allow the roots to appear correctly and without damage.
Leaving immediately after planting
Flower care is simple and does not take much time. After planting, the soil should not be moistened, especially if the weather is wet and there is dew in the morning. If other flowers grow nearby that need frequent watering, then the irises are covered with polyethylene.
It is advisable to add mineral nutritional components 8 days before flowering.
Features of growing bulbous irises
In order for the bushes to please with bright and lush inflorescences, the plant should be properly looked after. Knowledge about the rules of watering, the timing of top dressing and other growing secrets will definitely come in handy.
Watering
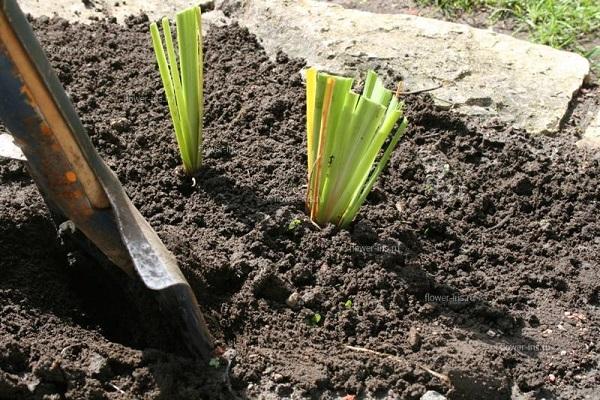
Bulbous irises need moderate watering. In dry, hot weather, as well as at the time of bud formation and active flowering, the soil is moistened more often. After the end of the flowering period, watering is completely stopped.
After irrigation, the soil should be loosened to prevent the formation of a dry crust. As a result, air and nutrients will better penetrate to the root branches of the plant.
Fertilizing and feeding
Several dressings should be carried out throughout the season:
- The first fertilization is carried out immediately after the snow melts. Nitrogen fertilizers are introduced, which contribute to the development of greenery. The composition may contain small amounts of phosphorus and potassium.
- When buds are formed, it is recommended to add compositions based on potassium-phosphorus components. A small amount of nitrogen can be added.
- After the end of the flowering period, only potassium and phosphorus are added.

Fertilizers are last applied in the last days of September. Formulations with a high potassium and phosphorus content are useful. They will allow you to form kidneys and fully relax in winter.
Trimming and shaping
When the flower begins to dry out, the peduncle is pruned. Do this carefully, trying not to damage the buds that have not yet opened.
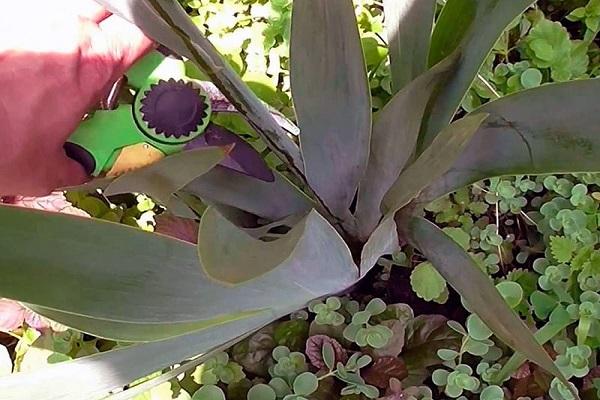
After the end of the flowering period (in mid-October), you need to trim the leaves. Dried flowers and leaves become a source of infection and take away extra nutrients from the plant.
The leaves are trimmed in a semicircle (this type of trimming will not allow moisture to linger on the leaves), leaving a length equal to 14 cm from the ground. The cut leaves should be burned.
Preparing for winter
Whether it is necessary to dig up bulbs for the winter depends on the region in which the irises grow. If the winters are snowy and warm, then the soil is mulched and covered with pine or spruce branches. If the winters are cold and there is not always a lot of snow, then it is better to dig up the bulbs.
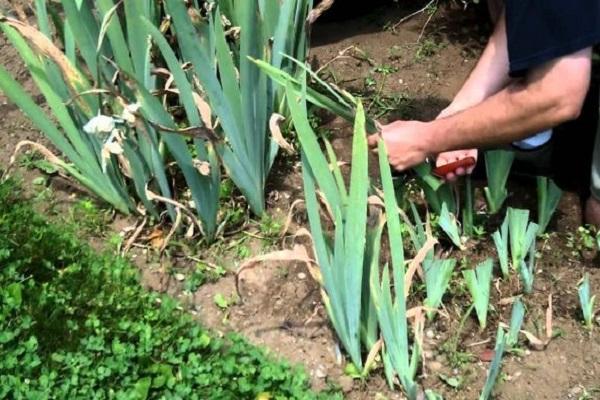
4 weeks after the end of flowering, the bulbs are dug up:
- they are cleaned of the remnants of adhered earth;
- washed under running water;
- then, for 3.5 weeks, the bulbs are dried indoors at an air temperature of +23 degrees;
- dry bulbs are moved into a container with holes, covered with sand, sawdust, peat and removed to a cool, dark place.
In the spring, when the soil warms up to +11 degrees, the bulbs are again planted in flower beds.
Flowering time of irises
Irises begin to bloom in the second decade of April. Depending on the variety planted, the interval between the appearance of inflorescences will differ by two or three weeks.
Flowering lasts a long time in cool and humid spring. In hot, dry weather, the inflorescences wither and dry quickly.
Council. It is recommended to plant different varieties of irises in one flower bed, which differ in terms of the beginning of flowering and the color of the petals.
How to propagate bulbous irises
Bulbous irises form other nests of bulbs already after one season. In the summer, the rhizome should be dug up and divided into separate specimens. Large ones are thoroughly dried and stored in a cool place until autumn. Small onions are immediately planted in the ground.
Diseases and pests of bulbous irises
On a healthy bush, many even leaves are formed. The damaged plant does not tie more than 5 leaves:
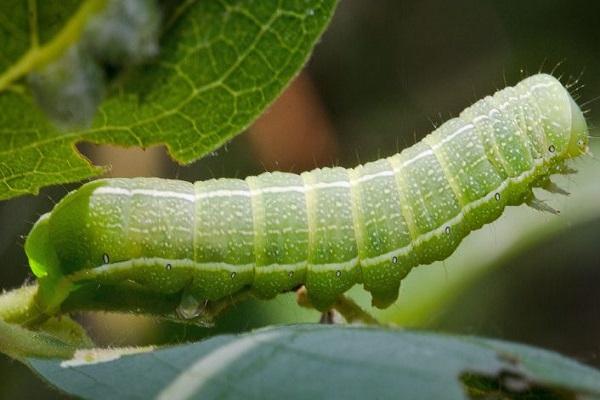
- In spring, the flowers are threatened by the attack of the moth caterpillars. For the fight use means "Granozan".
- Irises attack thrips, which helps to get rid of the solution of "Karbofos".
- Often irises are damaged by sheet drills. Damaged leaves must be removed, and all plants must be treated with insecticides.
- The timely introduction of superphosphate into the soil will help prevent the appearance of slugs.
Common diseases that affect irises are: fusarium, rust, septoria, heterosporium. Beds with flowers are treated with preparations such as Fitosporin, Quadris, Fundazol.
Preventive work to protect against pests
Various insects can damage the plant, so every 15 days it is necessary to carry out preventive treatment. The first spraying is carried out when the leaves of the plant grow to 11 cm (use the drug "Karbofos").
Other preventative measures include pre-planting bulbs, loosening the soil, and removing weeds. Be sure to monitor the irrigation regime and fertilization.
